Guide
What to Expect During Your Aircon Installation Day
From site assessment to commissioning, here's the full walk-through of an aircon installation day — what we do, in what order, and how long it takes.

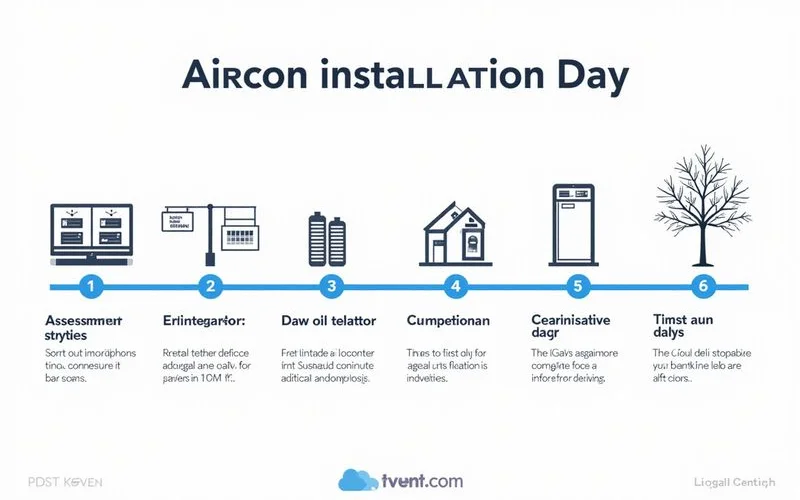
The full day aircon installation process, start to finish
An incorrectly installed air conditioner will cost you more in electricity and repairs than the unit itself. We fix botched installations constantly across Selangor and the Klang Valley.
A standard residential aircon installation usually takes two to three hours for a single wall mounted unit. Our licensed technicians follow a strict procedure to ensure maximum efficiency.
The following breakdown explains exactly what happens during installation.
Step 1: Arrival and site confirmation (15 minutes)
We begin the appointment by walking through your property to finalise the mounting locations. The first priority is verifying your condo management rules and renovation permits.
Our team will check if you have submitted the necessary paperwork to the Joint Management Body. High rise renovation deposits in Selangor currently range from RM2,000 to RM5,000.
We also discuss any potential adjustments to the initial quote before unpacking the tools. These initial aircon installation steps prevent surprises if extra piping is required for a specific wall layout.
- Confirm the indoor and outdoor mounting locations.
- Plan the exact route for the copper pipes.
- Select PVC trunking colours that match your interior.
- Check the power supply voltage against Suruhanjaya Tenaga guidelines.
Step 2: Indoor unit mounting (30 minutes)
We start the physical work by securing the metal mounting bracket to your interior wall. A laser level ensures the bracket hangs straight across the surface.
Our technicians calibrate a slight downward angle specifically for the PVC drainage tube. Gravity pulls the condensation away smoothly to stop water from dripping down your paintwork.
Installation Tip: A perfectly level bracket is not enough. The internal drainage tray must have a gravity fed slope to prevent water stains on your walls.
We maintain at least 15 centimetres of clearance between the unit and the ceiling. Proper spacing gives the blower motor enough room to pull in warm air efficiently.
Step 3: Outdoor unit mounting (30 minutes)
We secure the heavy outdoor compressor using durable, epoxy coated metal brackets. These rust resistant mounts are mandatory for surviving Malaysia’s intense year round humidity.
Our installers place thick rubber vibration isolation pads between the metal chassis and the bracket. This acoustic barrier drastically reduces the humming noise that would otherwise travel into your bedroom.
Noise Reduction: Upgrading to thick rubber isolation pads is the single most effective way to stop compressor vibration from entering your home.
We strictly require all staff to wear JKKP certified safety harnesses for elevated installations. Working on a narrow twentieth floor balcony in Cheras requires absolute caution.
Step 4: Copper piping (30 to 60 minutes)
We route the critical copper pipes between the indoor and outdoor units through neat external trunking. Modern R32 refrigerant operates at intense pressures, often reaching 400 to 450 PSI on the high side.
Our company exclusively uses 0.61mm thick copper piping to handle this structural stress safely. Budget installers who use thinner materials routinely cause catastrophic gas leaks within the first year.
| Refrigerant Type | Average High Side Pressure | Required Copper Thickness |
|---|---|---|
| Older R22 Gas | 225 to 250 PSI | 0.51mm Minimum |
| Modern R32 Gas | 400 to 450 PSI | 0.61mm (22SWG) Standard |
We cut every pipe to the exact length needed and flare the ends precisely using a calibrated torque wrench.
Tightening the brass connections to the manufacturer’s exact specifications guarantees a leak free seal.
Step 5: Vacuum evacuation (20 to 30 minutes)
We connect a two stage vacuum pump to the service valves to extract all air and moisture. This technical process separates a professional commissioning from a cheap and rushed job.
Our digital micron gauge remains attached until the internal pressure drops below 500 microns. Any microscopic water droplets left inside will mix with the synthetic oil to create destructive acids.
The 500 Micron Rule: Pulling a deep vacuum below 500 microns is the only way to guarantee the copper lines are completely free of moisture.
We trace the vast majority of premature compressor failures back to contractors skipping this exact step. A deep vacuum guarantees your new investment runs smoothly for its intended lifespan.
Step 6: Refrigerant release and commissioning (15 minutes)
We open the brass valves to release the factory charged refrigerant into the clean lines. The system is powered up and locked into its maximum cooling setting.
Our electricians measure the running amperage to confirm it aligns with the official nameplate data. Spiking electrical currents usually indicate a hidden blockage or an overcharged system.
We monitor the airflow for 15 minutes to record the temperature drop across the indoor evaporator coil. The cold air blowing out should be significantly cooler than the room temperature being pulled in.
- Verify the system pressure stabilizes around 120 PSI on the low side.
- Check the cold air output temperature.
- Confirm the outdoor fan operates smoothly.
Step 7: Walkthrough and handover (15 minutes)
We conduct a full demonstration of the hardware before packing away the drop cloths. The lead technician will explain how to operate the remote control efficiently.
Our team will also show you the correct way to slide out the primary dust filters. Washing these mesh screens every four weeks prevents ice buildup and keeps electricity usage low.
We fill out your official warranty paperwork immediately upon successful testing. Most leading brands in the Malaysian market provide a standard one year general guarantee and a five year compressor warranty.
- Present the final invoice for payment.
- Explain the immediate one year workmanship coverage.
- Seal all wall penetrations and trunking joints with silicone.
- Sweep the floor to remove any leftover drilling dust.
What you should do during the install
We suggest clearing the immediate floor space and letting the crew focus on the technical tasks. There is no need for you to hover over the ladders or supervise the wiring process.
Our lead installer will grab you at the beginning for a site check and at the end for the handover. Concrete dust from the hammer drill travels quickly across a room.
We highly recommend throwing an old bedsheet over your electronics or soft furniture. Covering items early prevents a frustrating cleanup later.
- Clear small furniture away from the target wall.
- Move cars out of the porch for tool access.
- Secure pets in a separate room.
After we leave
We advise running the air conditioner continuously on your normal settings for the first day. A thorough stress test helps identify any rare factory defects immediately.
Our comprehensive one year installation warranty activates the minute the van drives away. If any strange noises or water drips appear, a technician will return to fix it at zero cost.
We remind all clients that the humid climate in Selangor causes cooling fins to trap dirt quickly. Your aircon install day might be over, but regular maintenance keeps your electricity bills low.
Reach out to our support desk today to schedule your first chemical wash for six months from now.
- Register the manufacturer warranty online within 14 days.
- Monitor the indoor unit for any unexpected condensation.
- Schedule your first routine service appointment.
Related reading: Still deciding? You can also read our guide on How Much Does Aircon Installation Cost in Malaysia?.